To save your changes to a template without overwriting the original template, proceed as follows:
The settings specified in the "Save as" dialog box are based on the properties of the original template.
-
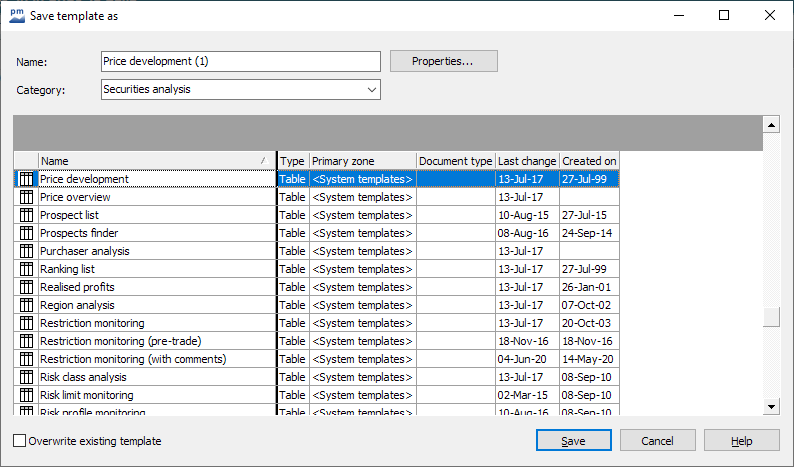
On the "Start" tab, select the SAVE AS command. The familiar dialog box with the existing templates appears.
-
First enter a name for the new template.
Assign meaningful names to the templates so that you can later recognize which settings are hidden behind them.
The name of the original template is given, supplemented by a number in brackets.
-
Select the category below.
To define a new category, select and overwrite the current category name. -
The "Properties..." button takes you to the "Template properties" dialog box, in which you can make the desired settings, e.g. for which objects - owners, portfolios, securities accounts, etc. - this template should be available. If necessary, read the section Edit template properties.
-
Confirm the entries with "OK".
-
Close the "Save template as" dialog box with the "Save" button.
The template is stored with the selected properties. You can access it under the new name.
-
These and other settings can be changed later if necessary. See the section Edit template properties.
-
You can find out how to add the new template to a workspace in the section Configure workspaces.
-
To be able to overwrite existing templates with the SAVE AS command, activate the "Overwrite existing template" checkbox at the bottom left of the "Save template as" dialog box. Then click on the template you want to replace and overwrite it with the "Save" button.