Proceed as follows to enter an initial margin:
-
Open the "Enter transactions" worksheet as described above in the section Enter transactions and select the desired holder if necessary.
-
Open the ACCOUNT menu in the "Enter transactions" worksheet.
-
Select the transaction type INITIAL MARGIN at Account transaction types .
Use the keyboard to enter an initial margin when the "Enter transactions" worksheet is open as follows: Press the key combination <CTRL>+<2> for the account transaction types. Then press the button<M>.
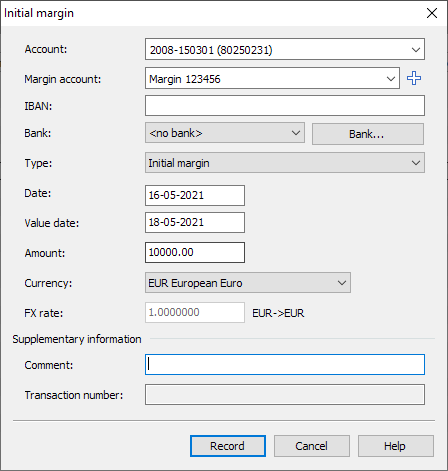
The "Initial Margin" dialog box appears.
-
Complete or change the information in the fields if necessary. The details of these fields can be found in the following table.
The fields in detail:
Element
Description
Account
In this selection list, select the account to which the margin booking is actually posted. This must be an account created below the holder.
Margin account
Select the corresponding virtual margin account from this selection list. As an alternative to selecting the margin account, you can also enter a new margin account here, which will then be available for subsequent bookings. Simply enter a name in the input field using your keyboard.
A margin account is generally opened via an initial margin booking and closed with an initial margin repayment. However, it is possible to post several initial margin postings and several repayments to one margin account. The existing margin account is then used. As soon as the balance of the margin account is back to 0 after a repayment, it is closed (and thus disappears from the balance sheet).

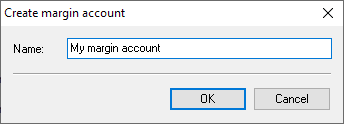
Enter the desired account name in the "Create margin account" dialog box that appears and confirm your entry with "OK".
The available margin accounts are sorted as follows in the selection list.-
New margin account
-
Margin accounts
-
Closed margin accounts
IBAN
Enter the IBAN of the account here.
Bank
Select the bank of the account here. Click on the "Bank..." button to open the familiar "Manage bank details" dialog box, in which you can create new bank details if necessary.
Please read the section Bank details.
Type
You can use this selection list to switch to another transaction type in the "Margin" category.
Date
Enter the date of the initial margin here. The default setting is the current date. You can change the date manually, e.g. to enter data retrospectively.
Value date
Enter the value date of the initial margin here. The default setting is the current date.
Amount
In this field you enter the amount of the initial margin (in the currency set next to it). Up to 5 decimal places can be entered here.
By default, the booking amount for an initial margin is booked as follows:
-
Posting to account: negative
-
Posting to margin account: positive
In order to reflect the sometimes common practice of entering variation margins without first entering an initial margin, it is also possible to enter an initial margin with the amount "0". It is also possible to enter a negative amount, in which case a positive amount is generated in the account.
Currency
Enter the currency of the initial margin in this field. The default setting is the currency of the account.
-
-
Finally, confirm the entries with the "Enter" button.