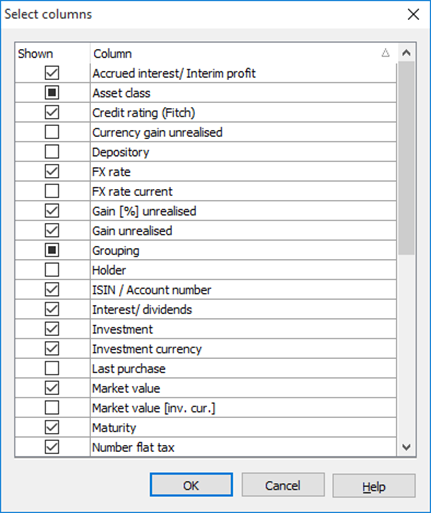
In the "Shown" column, activate the checkboxes for the columns that you want to see in the table. Deactivate the checkboxes for the columns to be hidden.
|
Command |
Icon |
Description |
|---|---|---|
|
Activated |
|
These columns are activated and therefore displayed. |
|
Deactivated |
|
These columns are deactivated and therefore not visible in the table. |
|
Temporarily hidden |
|
These checkboxes cannot be clicked as the columns are temporarily hidden. One possible cause is that the table is currently grouped according to these columns. If you want to change this display and show grouped columns, you must first ungroup the display using the icon of the same name to expand everything. Another possible reason is the default setting of the tables, which hides empty columns for reasons of clarity. You can change that too: Select the command SHOW EMPTY COLUMNS in the menu of the "View options" icon on the "Table" tab and then show the desired columns. |
The columns in the dialog box are sorted alphabetically. A mouse click on the desired column heading sorts the list again, a second mouse click on the same column sorts the list in reverse order.
If you want to show all columns in the table, select the command SHOW ALL in the context menu of the "Select columns" dialog box.
If you want to hide all columns in the table, select the command HID ALL in the context menu of the "Select columns" dialog box.
Close the dialog box with "OK" to apply the changes.
For tables with footers, you can show or hide them. To do this, select the SHOW FOOTNOTE command in the menu of the "View options" icon on the "Table" tab.