You can use the histories to create, edit and delete date-value pairs in different contexts.
The following options are available in these input windows:
Command
Icon
Description
Add entry
Select the "Add entry" icon at the top right or the shortcut <CTRL>+<INSERT> to create a new data record.
Delete entry
Select the "Delete entry" icon or the key combination <CTRL>+<ENTF> to delete a selected data record.
Delete all entries
Select the "Delete all entries" icon to delete all listed data records.
All commands are also available via the context menu of the input field. Click on the small arrow on the right in a table cell in the Date column to open the helpful calendar. The data can be changed directly in the respective input field.
All changes are saved after confirmation with "OK". If you exit the dialog box with the "Cancel" button, the changes will be discarded.
Beispiel 1: Zins-Historie für Anleihen
You can access the input window via the PROPERTIES command in the context menu of a bond, for example. In the "Bond master data" dialog box that appears, select the "Edit interest history" icon on the "Advanced" tab. In this case, you must also confirm the "Bond master data" dialog box with "OK" for the changes you have entered to take effect.
You will also find an "Edit interest rate history" icon next to the "Interest rate" input field in the bond calculator. Here you can temporarily edit or create the interest history of the current bond. These changes do not change the master data of the bond, they are only used for the calculation in the open bond calculator.
Beispiel 2: Bewertungskurse für Devisentermingeschäfte
If you have entered forward exchange transactions, you can access a selection dialog in the "Enter transactions" worksheet via the "Enter forward rates" icon. Select the desired transaction here and confirm the selection with "OK", then you can enter the date/exchange rate pairs in the "Enter forward rates" input window.
Alternatively, you can access the input window via the context menu of a forward exchange transaction in the open asset overview.
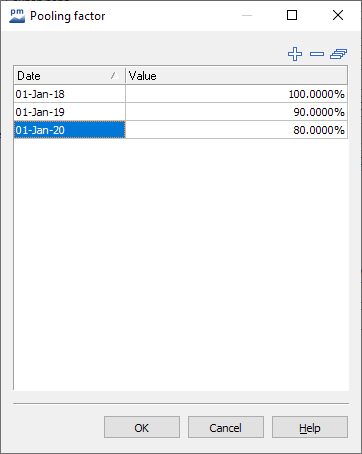
Beispiel 3: Poolfaktoren für Anleihen
In addition to the interest rate history described in example 1 , you can also enter the history for the pool factors of the bond for pool factor bonds on the "Extended" tab in the bond master data. To do this, activate the "Bond has pool factor" checkbox and then enter the history using the "Enter pool factors" icon.
To create interest histories, please also read the section Bond master data.
JavaScript errors detected
Please note, these errors can depend on your browser setup.
If this problem persists, please contact our support.