You can use the "Install database" function to set up the relational database of the Infront Portfolio Manager on the basis of a backup or export. The database image (database source) located in the "<shared directory>\data\db\export" folder is imported into a database schema under MS-SQL or Oracle. The process is supported by an assistant.
It is possible to create a new database schema (MS-SQL or Oracle) in the further course of the individual steps of the wizard. Alternatively, an existing database schema can also be used.
During a new installation of the system, an initial database image with demo data serves as the database source. The initial database image was already stored in the <shared directory> during the new installation. The initial database image can also be replaced by a backup or export of an existing relational database, which in this case serves as the database source for the subsequent installation of the database. Please read the section Transfer database from parallel installation).
If you want to install a database, proceed as follows:
-
Exit the Infront Portfolio Manager if necessary.
-
If you still need the current installation database, create a backup copy.
-
Start the database tool via the <Database tool> command in the WIndows start menu.
-
Select the INSTALLATION, INSTALL DATABASE command in the main menu of the database tool.
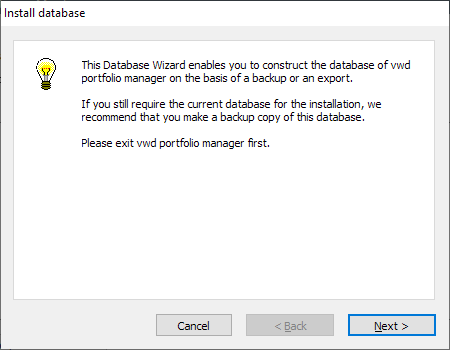
The wizard starts and the "Install database" dialog box appears.
-
Select the "Next" button.
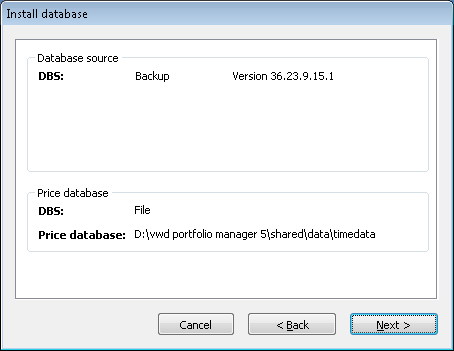
The second page of the "Install database" dialog box appears with the details of the database source and course system.
-
Select the "Next" button.
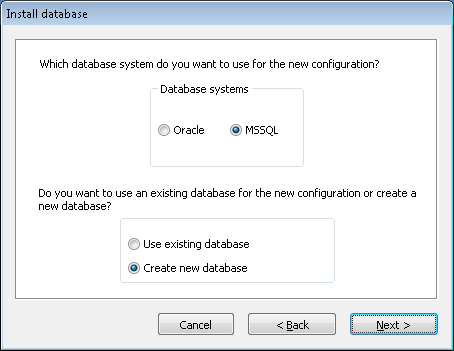
The third page of the "Install database" dialog box appears.
-
Select the desired database system: Oracle or MS-SQL.
-
Below this, specify whether an existing database schema should be used in the target database or whether a new database schema should be created.
-
Select the "Next" button.
-
On the following page, enter the name of the new database, the user of the database and a corresponding password for the database. Confirm with "Next".
-
Another dialog box informs you that the installation has been completed. Confirm this dialog box with "OK".
-
Then start the conversion of the transferred database by clicking the "Start" button.
-
After successful conversion, close the "Install database" dialog box with the "Exit" button to return to the database tool.
-
Select the INSTALLATION, DATABASE UPDATE command in the main menu of the database tool.
-
Confirm the security prompt that appears with "Yes" to start the database update.
-
After a successful database update you can use the new version of the Infront Portfolio Manager.