This menu item can be used to export the current status of an installed database as a database image. Proceed as follows to export the database:
-
Exit the Infront Portfolio Manager if necessary.
-
Start the database tool via the <Database tool> command in the Windows start menu.
-
Select the command INSTALLATION, EXPORT DATABASE... in the main menu of the database tool.
-
The "Export database" dialog box appears.
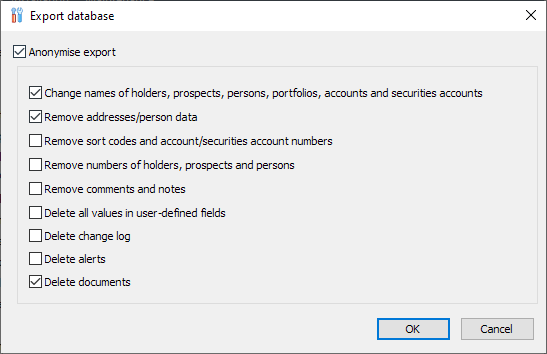
In this dialog box, options for anonymizing the database are offered at the same time as the export.Of course, these options do not "delete" or "remove" this data from the original database, but only from the exported copy. For example, if you have activated the "Delete documents" checkbox, the files saved in the document archive (internal document management system) will not be exported.
-
Activate the checkboxes for the desired anonymization functions.
-
Start the database export with the "OK" button.
-
You can track the progress of the export process in the log window of the database tool. Close the database tool after successful export with the "Exit" button.
The exported image is stored in the form of files in the folder "<Shared-Verzeichnis>\data\db\export".
After this process, the directory "<shared-directory>\data" contains all relevant data of an installation of the Infront Portfolio Manager. This data directory can be saved as a consistent backup or copied on a file basis to another installation of Infront Portfolio Manager.