If you want to convert the underlying database of the current installation to Oracle, proceed as follows:
-
Exit the Infront Portfolio Manager.
-
Start the database tool via the <Database tool> command in the Windows start menu.
-
In the database tool, select the command INSTALLATION, CONVERT DATABASE... in the main menu.
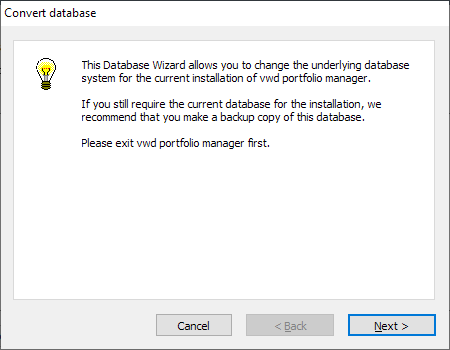
The first "Convert database" dialog box of the database wizard appears:
-
Read the instructions and confirm with "Next".
The current configuration appears. -
After clicking on "Next", the next dialog box "Convert database" appears. Now select the database system "Oracle" for the new configuration via the corresponding option.
Also specify here whether you want to use an existing Oracle database for the new configuration or create a new database. To do this, activate the corresponding option at the bottom of the dialog box.
-
Confirm the details with "Next".
-
If a new database is created, enter further information in the following dialog box:
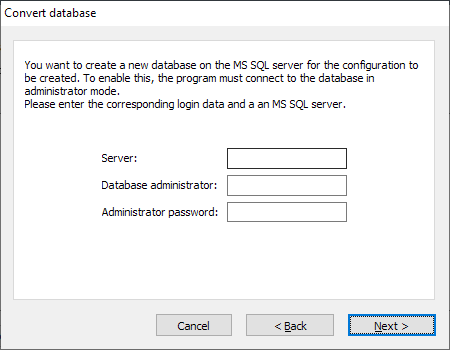
Enter an administrator name and password here who is authorized to create tablespaces and users at Oracle.
It makes sense to enter a new tablespace name here that is not yet used in the database. However, it is also possible to use an existing tablespace. -
Confirm with "Next".
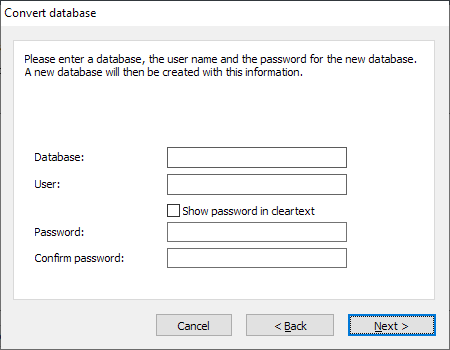
For Oracle, you must now enter a valid SQLNet connection as well as a user name and password. If a new database is created, the name must not yet exist in the database. In this case, an error message appears - select a different name. The prerequisite for use is the installation of the client software for Oracle.You can find out how to create an SQLNet connection in your Oracle manual.
-
Confirm with "Next".
A new database is created if the corresponding option was selected. Once the database has been successfully created, a corresponding message informs you of this. If a connection to the database could be established, a dialog box appears in which you can see once again which configuration is being converted to which. -
Select "Start".
Follow the progress of the conversion. A corresponding message appears after successful conversion. -
Click "Finish" to complete the conversion to Oracle.
The log in the main window then provides you with all the information about the processes and the associated times.