To administer the user administration, you must first create a user who has the corresponding administration or system rights. A corresponding message appears the first time you start the user administration. Proceed as follows to create an administrator for the user administration:
-
Select the <User Management> command in the Windows Start menu.
The following "Information" dialog box appears:

-
Confirm the dialog window with the "Create administrator" button.
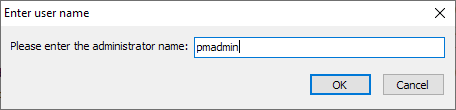
The "Enter user name" dialog window appears next:
-
Enter a meaningful name in the input field and then confirm this dialog box with "OK".
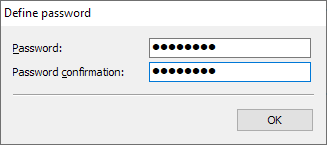
The "Set password" dialog box appears next:
-
Enter the future password for this user with administrator rights in the "Password" input field and confirm it by entering it again in the "Password confirmation" field. Note: The popular "copy and paste" does not work here.
-
Now close the "Set password" dialog box with "OK".
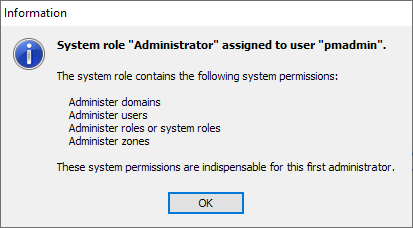
If everything has worked, the next dialog box appears, informing you that the user with the "Administrator" system role has been successfully created with all the necessary system rights in the user administration:
After confirming with "OK", another dialog box informs you that you can now log in to the user administration with the login data assigned for the administrator.
-
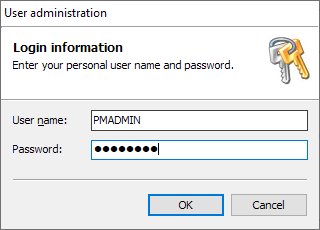
If you also confirm this dialog box with "OK", the login dialog for the actual user administration appears.
-
In this login dialog, enter the previously assigned user name (in the example "Administrator 1") and password and confirm the entries with "OK".
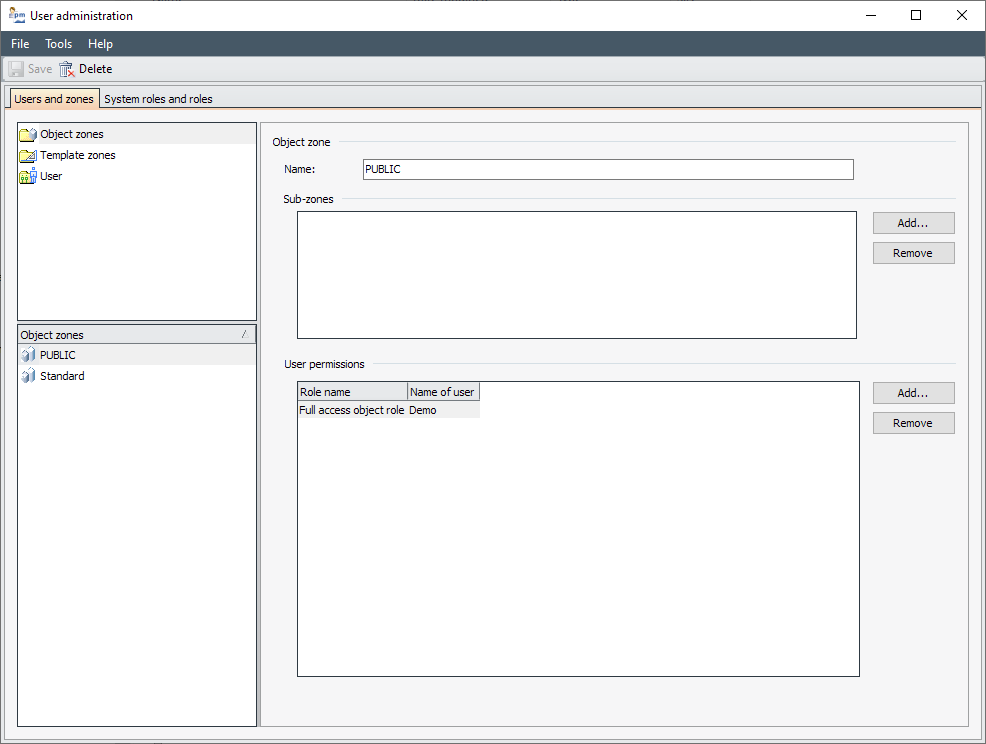
You will now be taken to the user administration, where you can make your specific settings for all users, roles, zones and rights.
Read the following section on the terms Structure of the user administration. The description of the user interface of the "User administration" tool and its functionalities follows in the section User management interface.